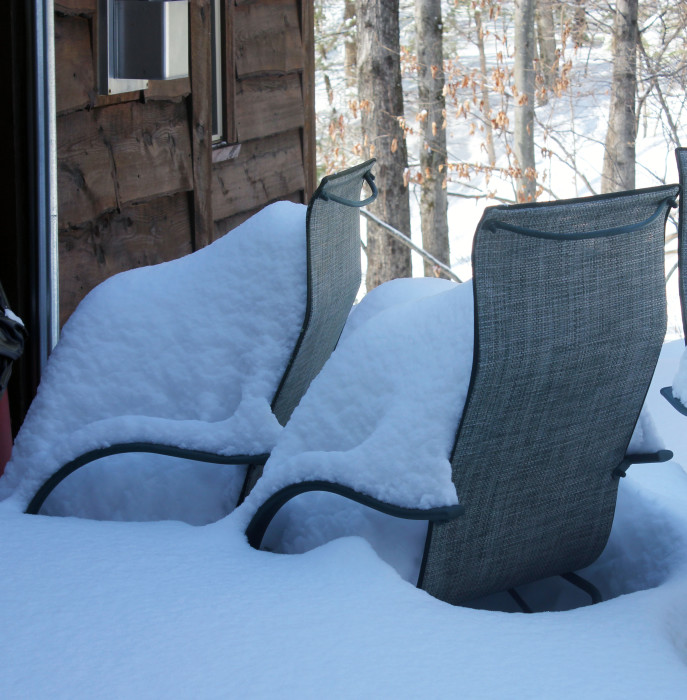
That top picture explains why Suzen and I will not be dining on the deck today. We could attempt an igloo, of course, and “eat in” or “eat under” the snow, but we are reluctant to attempt that. Can you make an igloo from snow? Do we need ice? We are just not prepared here. Although, I will say, our driveway has been plowed so we can escape to, and not from, New York City.
On a snow day, what should you do? Make cookies, of course. I reviewed Homemade Decadence last week, a lovely dessert book from Joy Wilson:
This cookie recipe caught my eye because it reminded me of a crinkly cookie I blogged in December 2013:
https://cookingbythebook.com//cookie-jar/kris-kringles-christmas-chocolate-crinkles/
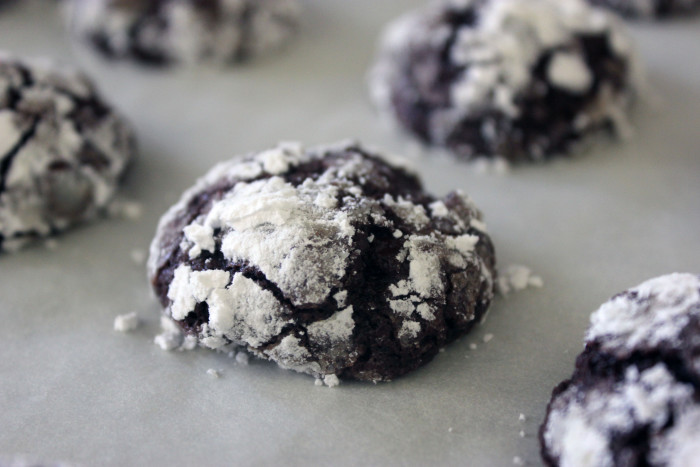
Joy’s cookie looks identical, but it’s made with a very different technique. I wondered how it would turn out. In a word, superbly.
The old crinkle cookie is a bit crusty and does dry out over time. Joy suggests “underbaking” a tad so the cookies come out soft with just a hint of chewiness. We’re going to bag them up, so they don’t dry out. We’ll see if they stay soft for the next day. Assuming of course that cookies last for 24 hours. Remember, Suzi and I can’t go outside!
That crinkle cookie from a year ago represents a recipe I’ve been cooking for, gosh, maybe 40 years. It begins with melting chocolate and butter together. In Joy’s version, the chocolate is chopped and added to a flour-cocoa mixture. Then the butter is cut into small pieces and rubbed into the flour mixture, much as if you were making a biscuit. The chocolate melts as you bake, hence here clever “melt-y” adjective in the title. It’s a totally different technique, yet the final result “looks” right and I think tastes better.
It’s a terrific cookie, densely chocolate, and the perfect sidekick for a copy of coffee while you watch the snow fall. And fall. And fall.
Melt-y Chocolate –Truffle Cookies
Yield: 18+ cookies depending on your scoop
Ingredients:
- ½ cup all-purpose flour
- ½ cup sugar
- ¼ cup unsweetened Dutch-processed cocoa powder
- ½ teaspoon baking powder
- ¼ teaspoon salt
- 1 teaspoon espresso powder (optional)
- 2 tablespoons unsalted butter, cut into chunks, at room temperature
- ⅓ cup (about 3 ounces) chopped dark chocolate (I used a 70% cacao chocolate)
- 1 large egg
- 1 tablespoon pure vanilla extract
- 1 cup confectioners’ sugar
Preparation:
Put racks in the center and upper third of the oven and preheat the oven to 375°F. Line 2 baking sheets with parchment paper.
In a medium bowl, whisk together the flour, sugar, cocoa powder, baking powder, salt, and espresso powder, if using. Add the butter and rub the butter into the dry ingredients until thoroughly combined. The mixture will be relatively dry and resemble breadcrumbs. Add the chopped chocolate and toss well.
In a small bowl, whisk together the egg and vanilla. Add the egg mixture to the chocolate mixture and stir with a fork until the mixture is slightly moistened. Use your hands to press the dough into a ball. Wrap the dough in plastic wrap and refrigerate for about 30 minutes.
Put the confectioners' sugar in a medium bowl. Remove the dough from the refrigerator and shape it into tablespoon-size balls. Generously coat the balls, one at a time, in the confectioners' sugar and place on the prepared baking sheets. Leave about 2 inches of space between each cookie. Bake until the cookies are just set, but still slightly undercooked on the inside, about 10 minutes. Let cool on the pans for 5 minutes before transferring to wire racks to cool completely. Serve warm (preferably right after dinner). The cookies will keep in an airtight container for up to 4 days.
Source: Homemade Decadence by Joy Wilson [Clarkson Potter, 2014]
Photo Information [bottom]: Canon T2i, 18-55mm Macro Lens, f/5 at 1/80th second, ISO-1000


