“Do you know what Type 2 means?” wife asked.
I certainly do, but I don’t have to admit the truth.
“Why not just make the wafers but leave out the butter cream?”
Good marriages are made of compromise and that is just what I did. Wafers, yes. Butter cream, no.
Tish Boyle gave us her fabulous Amy-Oes in 2002. Two wafers married with vanilla butter cream. It’s great. Better than an Oreo. Yes, it is. And you can see the recipe right here.
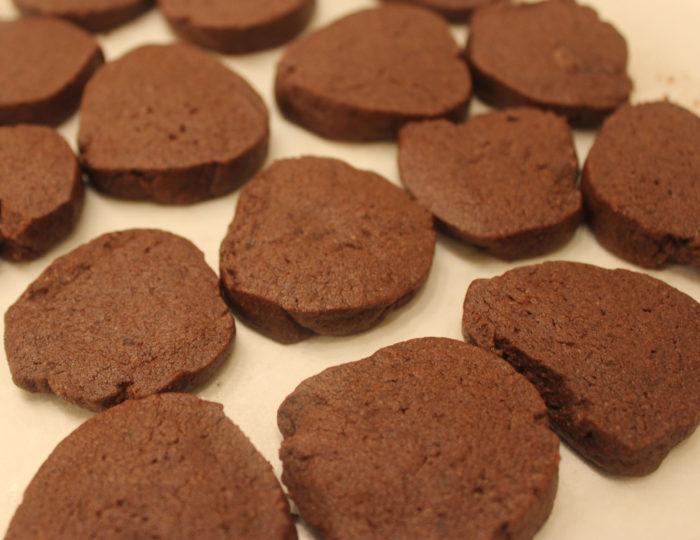
The wafers are made with cocoa and espresso powder. They are soft, tender, and quite remarkable. I make the dough in multiple batches, freeze the logs, and then bake them “at the last minute” for a quick dessert.
I don’t miss the butter cream. Not too much.
“Where are the cookies?” Suzi asked me last night.
“I have no idea,” I lied. I don’t have to admit the truth.
Cocoa and Espresso Wafers
Yield: ~ 32 wafers
Ingredients:
- 1 ¼ cups all-purpose flour
- 2 teaspoons instant espresso powder, such as Medaglia d’Oro
- ¼ teaspoon salt
- ¾ cup unsalted butter, softened
- ¾ cup granulated sugar
- 1 large egg
- 1 teaspoon vanilla extract
- ¾ cup Dutch-processed cocoa powder, preferably Valrhona, sifted
Preparation:
In a medium bowl, whisk together the flour, instant espresso powder, and salt. Set aside.
In the bowl of an electric mixer, using the paddle attachment, beat the butter at medium speed until creamy, about 30 seconds. Gradually add the sugar and beat until light and fluffy, about 2 minutes. Reduce the speed to low and add the egg, mixing well and scraping down the sides of the bowl as necessary. Mix in the vanilla extract. Gradually add the cocoa powder, mixing until blended. Scrape down the sides of the bowl. Add the flour mixture in three additions, mixing just until blended.
Scrape the dough out onto a work surface and divide it in two. Put each dough on a sheet of wax paper and shape into a log with a diameter of about 1 ¼”. Put the back edge of the wax paper over the dough. Put a ruler against the bottom edge of dough. Press the ruler in with one hand. With your other hand, pull on the exposed edge of wax paper. There will be slight motion and the dough will form into an almost perfect round.
Refrigerate for at least two hours until firm.
Position a rack in the center of the oven and preheat to 325°F. Line two baking sheets with parchment paper.
Slice the dough ¼” to ⅓” thick. Bake for 7 to 9 minutes. Your finger should dimple a cookie top, but not sink in. The cookies should still have some give.
Eat while warm! Save the leftovers in a zip lock bag.
Source: The Good Cookie [Wiley, 2002]
Photo Information: Canon T2i, EFS 60mm Macro Lens, F/4.5 for1/30th second at ISO‑800