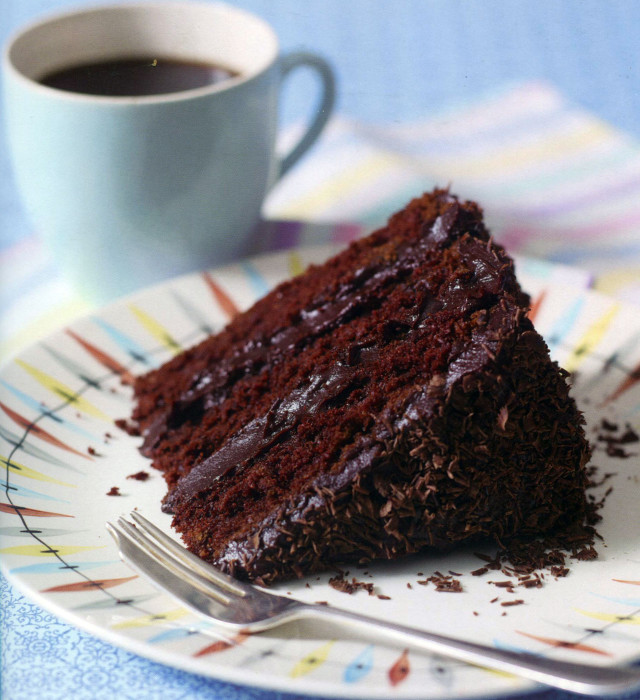
For Halloween, why not a Devil’s Food Cake. Chocolate. Rich. Tangy.
Ah, but the devil is in the details. I know of no other cake recipe with such a diverse base of recipe alternatives. It’s a light, chocolate cake but getting to that end can mean many different combinations of ingredients and techniques are in play:
- Chocolate versus cocoa power
- Buttermilk versus sour cream
- Water versus milk versus coffee
- Butter versus oil
- Beaten eggs versus separated with whipped whites folded into the batter at the end
There are literally dozens of different recipes. According to Wikipedia, the most common choices are to use coffee and cocoa. And, baking soda is a frequent ingredient, employed both to make the cake tall and to achieve a dark mahogany color.
With all these choices, where to begin? I’m using this recipe, from Retro Cakes and Cookies, as a baseline. It has the sour cream, but not the cocoa and coffee. Bittersweet chocolate and water are used instead. Suzen and I will be making this version of the cake, then testing some substitutions for comparisons. The book Retro Cakes and Cookies is well written, with tested recipes. So I’m happy to use this recipe as the starting point for our Devil’s food journey.
We’ll let you know about the progress.
Devil’s Food Cake
Yield: serves 12
Ingredients:
For the cake:
- Oil for greasing
- 3 ½ ounces bittersweet (dark) chocolate, chopped
- ¾ cup cold water
- 1 ½ sticks unsalted butter, softened
- 1 ½ cups soft dark brown (muscovado) sugar
- 3 extra large eggs, beaten
- 2 ¼ cups all-purpose (plain) flour
- ¾ cup sour cream
- I teaspoon vanilla extract (essence)
- 1 ½ teaspoons baking soda (bicarbonate of soda)
For the frosting:
- ⅔ cup water
- ¼ cup (50g) soft dark brown (muscovado) sugar
- 2 ¼ sticks (250g) unsalted butter, diced
- 14 ounces bittersweet (dark) chocolate, chopped
- Extra grated bittersweet (dark) chocolate, to decorate
Preparation:
Preheat the oven to 375°F. Lightly grease three 8-inch layer cake pans and line the bases with baking parchment.
To make the cake, put the chocolate and water in a heavy-based pan, and heat gently until the chocolate melts, stirring until smooth.
Beat the butter in a mixing bowl until creamy, then gradually beat in the brown sugar. Add the eggs one at a time, beating well after each addition, and adding a tablespoon of the flour to prevent the mixture from curdling. Stir in the melted chocolate.
Mix together the sour cream and vanilla, and sift the rest of the flour with the baking soda (bicarbonate of soda). Stir the sour cream into the chocolate mixture alternately with the flour, until all the ingredients are evenly combined.
Divide the mixture between the three pans, spreading it in even layers and leveling the tops. Bake for 25 minutes, or until the sponge layers feel springy to the touch. Cool in the pans for 10 minutes, before turning out onto a wire rack to cool completely, and removing the lining paper.
To make the frosting, put the water, sugar, and butter into a heavy-based pan, and heat gently until the sugar dissolves, and the butter has melted. Add the chopped chocolate, and stir constantly over very low heat until smooth, taking care not to let the chocolate stick to the bottom of the pan and bum. Transfer the frosting to a bowl, I and leave in a cool place until it is thick enough to spread.
Spread a layer of frosting over two of the cake layers, and sandwich all three together. Spread the rest of the frosting over the top and sides of the cake, and decorate with a dusting of grated dark chocolate.
Source: Retro Cakes and Cookies by Wendy Sweetser

