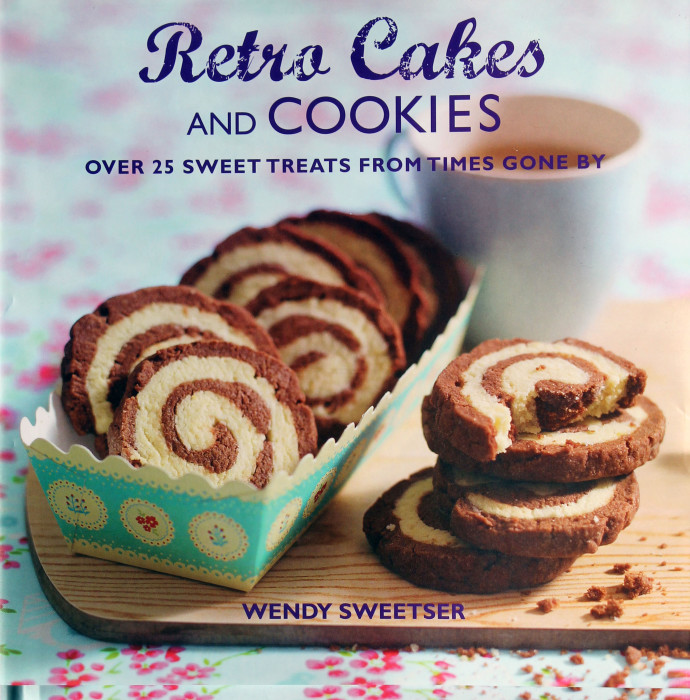
The cover of Retro Cakes and Cookies shows an old friend. I grew up on Pinwheel Cookies although here they have the name Double Chocolate Pinwheels. The double part comes from using white chocolate in the white dough. As a kid, sixty years ago, I don’t remember my grandmother using white chocolate. In fact, I bet she did not know what it was.
I ate batches and batches of these cookies. They teach you patience. You have to make two doughs, roll them out, carefully put one on top of the other, roll it all up, refrigerate, then finally cut and bake. This is not a quick cookie at all.
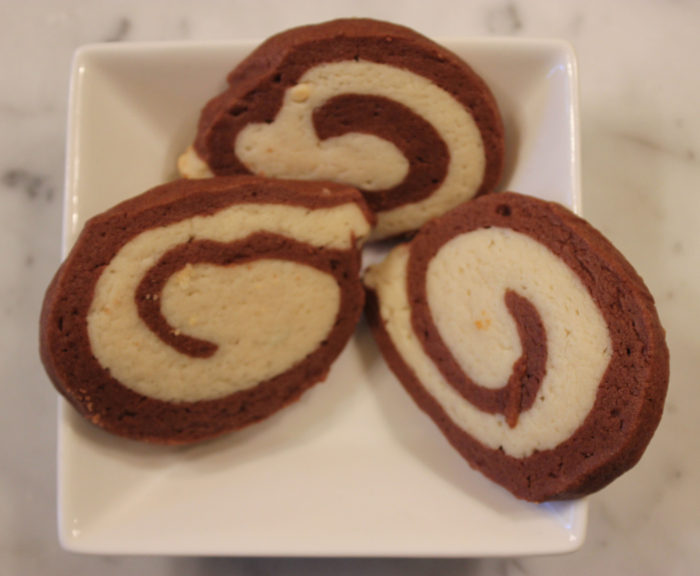
So, after about sixty years since my last bite, how are these? They taste like a cookie from the 1950s. Simple flavor, good texture. No, these don’t knock your socks off with some accelerated feature. This is just a good, honest cookie.
I love them with a double shot of espresso while sitting on my porch and listening to the morning birds.
Take some time. Make a pinwheel. Remember the past.
When I made these, I added the milk into the mixer bowl and beat until I had real dough ball. There is no egg here, not a lot of butter. So, before adding the milk, the dough was very dry and crumbly. I suspect I put in 4+ tablespoons of milk. The cookies came out just fine. The dough was easy to roll.
Double Chocolate Pinwheels
Yield: 24
Ingredients:
Dark chocolate layer:
3 ounces bittersweet chocolate chopped
¾ stick butter, softened
6 tablespoons superfine sugar
1 ¾ cups all-purposed flour
2-3 tablespoons milk
White chocolate layer:
3 ounces white chocolate chopped
¾ stick butter, softened
6 tablespoons superfine sugar
1 ¾ cups all-purposed flour
2-3 tablespoons milk
Preparation:
To make the dark chocolate layer, melt the chocolate in a bowl over a pan of hot water, stirring occasionally until smooth. Set aside to cool.
Beat the butter and sugar together until pale and creamy. Stir in the cooled chocolate, then sift in the flour, and beat everything together until combined. Bring the mixture together with your hands, adding enough milk to a soft dough that is not too dry and crumbly.
Make up the dough for the white chocolate layer in the same way, then wrap both pieces of dough in plastic wrap (clingfilm) and chill in the fridge for 1 hour.
Roll out both pieces of dough on a lightly floured work surface to rectangles measuring about 15 x 10 inches (37.5 x 25cm). Carefully lift the white chocolate dough and place on top of the dark chocolate dough. Trim any rough edges neatly, and roll up like a jelly roll (Swiss roll) from one long side. If any cracks appear in the dough while you’re rolling, press these back together with your fingers. Wrap the roll in plastic wrap (clingfilm) and chill again for 30 minutes.
Preheat the oven to 350°F/180°C/gas mark 4. Lightly grease two baking sheets, and line with baking parchment. Remove the plastic wrap (clingfilm) and, using a small sharp knife, cut the roll into about 24 slices. Place on the baking sheets and bake for about 15 minutes, or until firm to the touch. Cool on the baking sheets for 5 minutes, before transferring the cookies to a wire rack to cool completely.
Source: Retro Cakes and Cookies by Wendy Sweetser [Cico Books, 2013]
Photo Information: Canon T2i, EFS 60mm Macro Lens, F/5 for 1/50th second at ISO‑3200